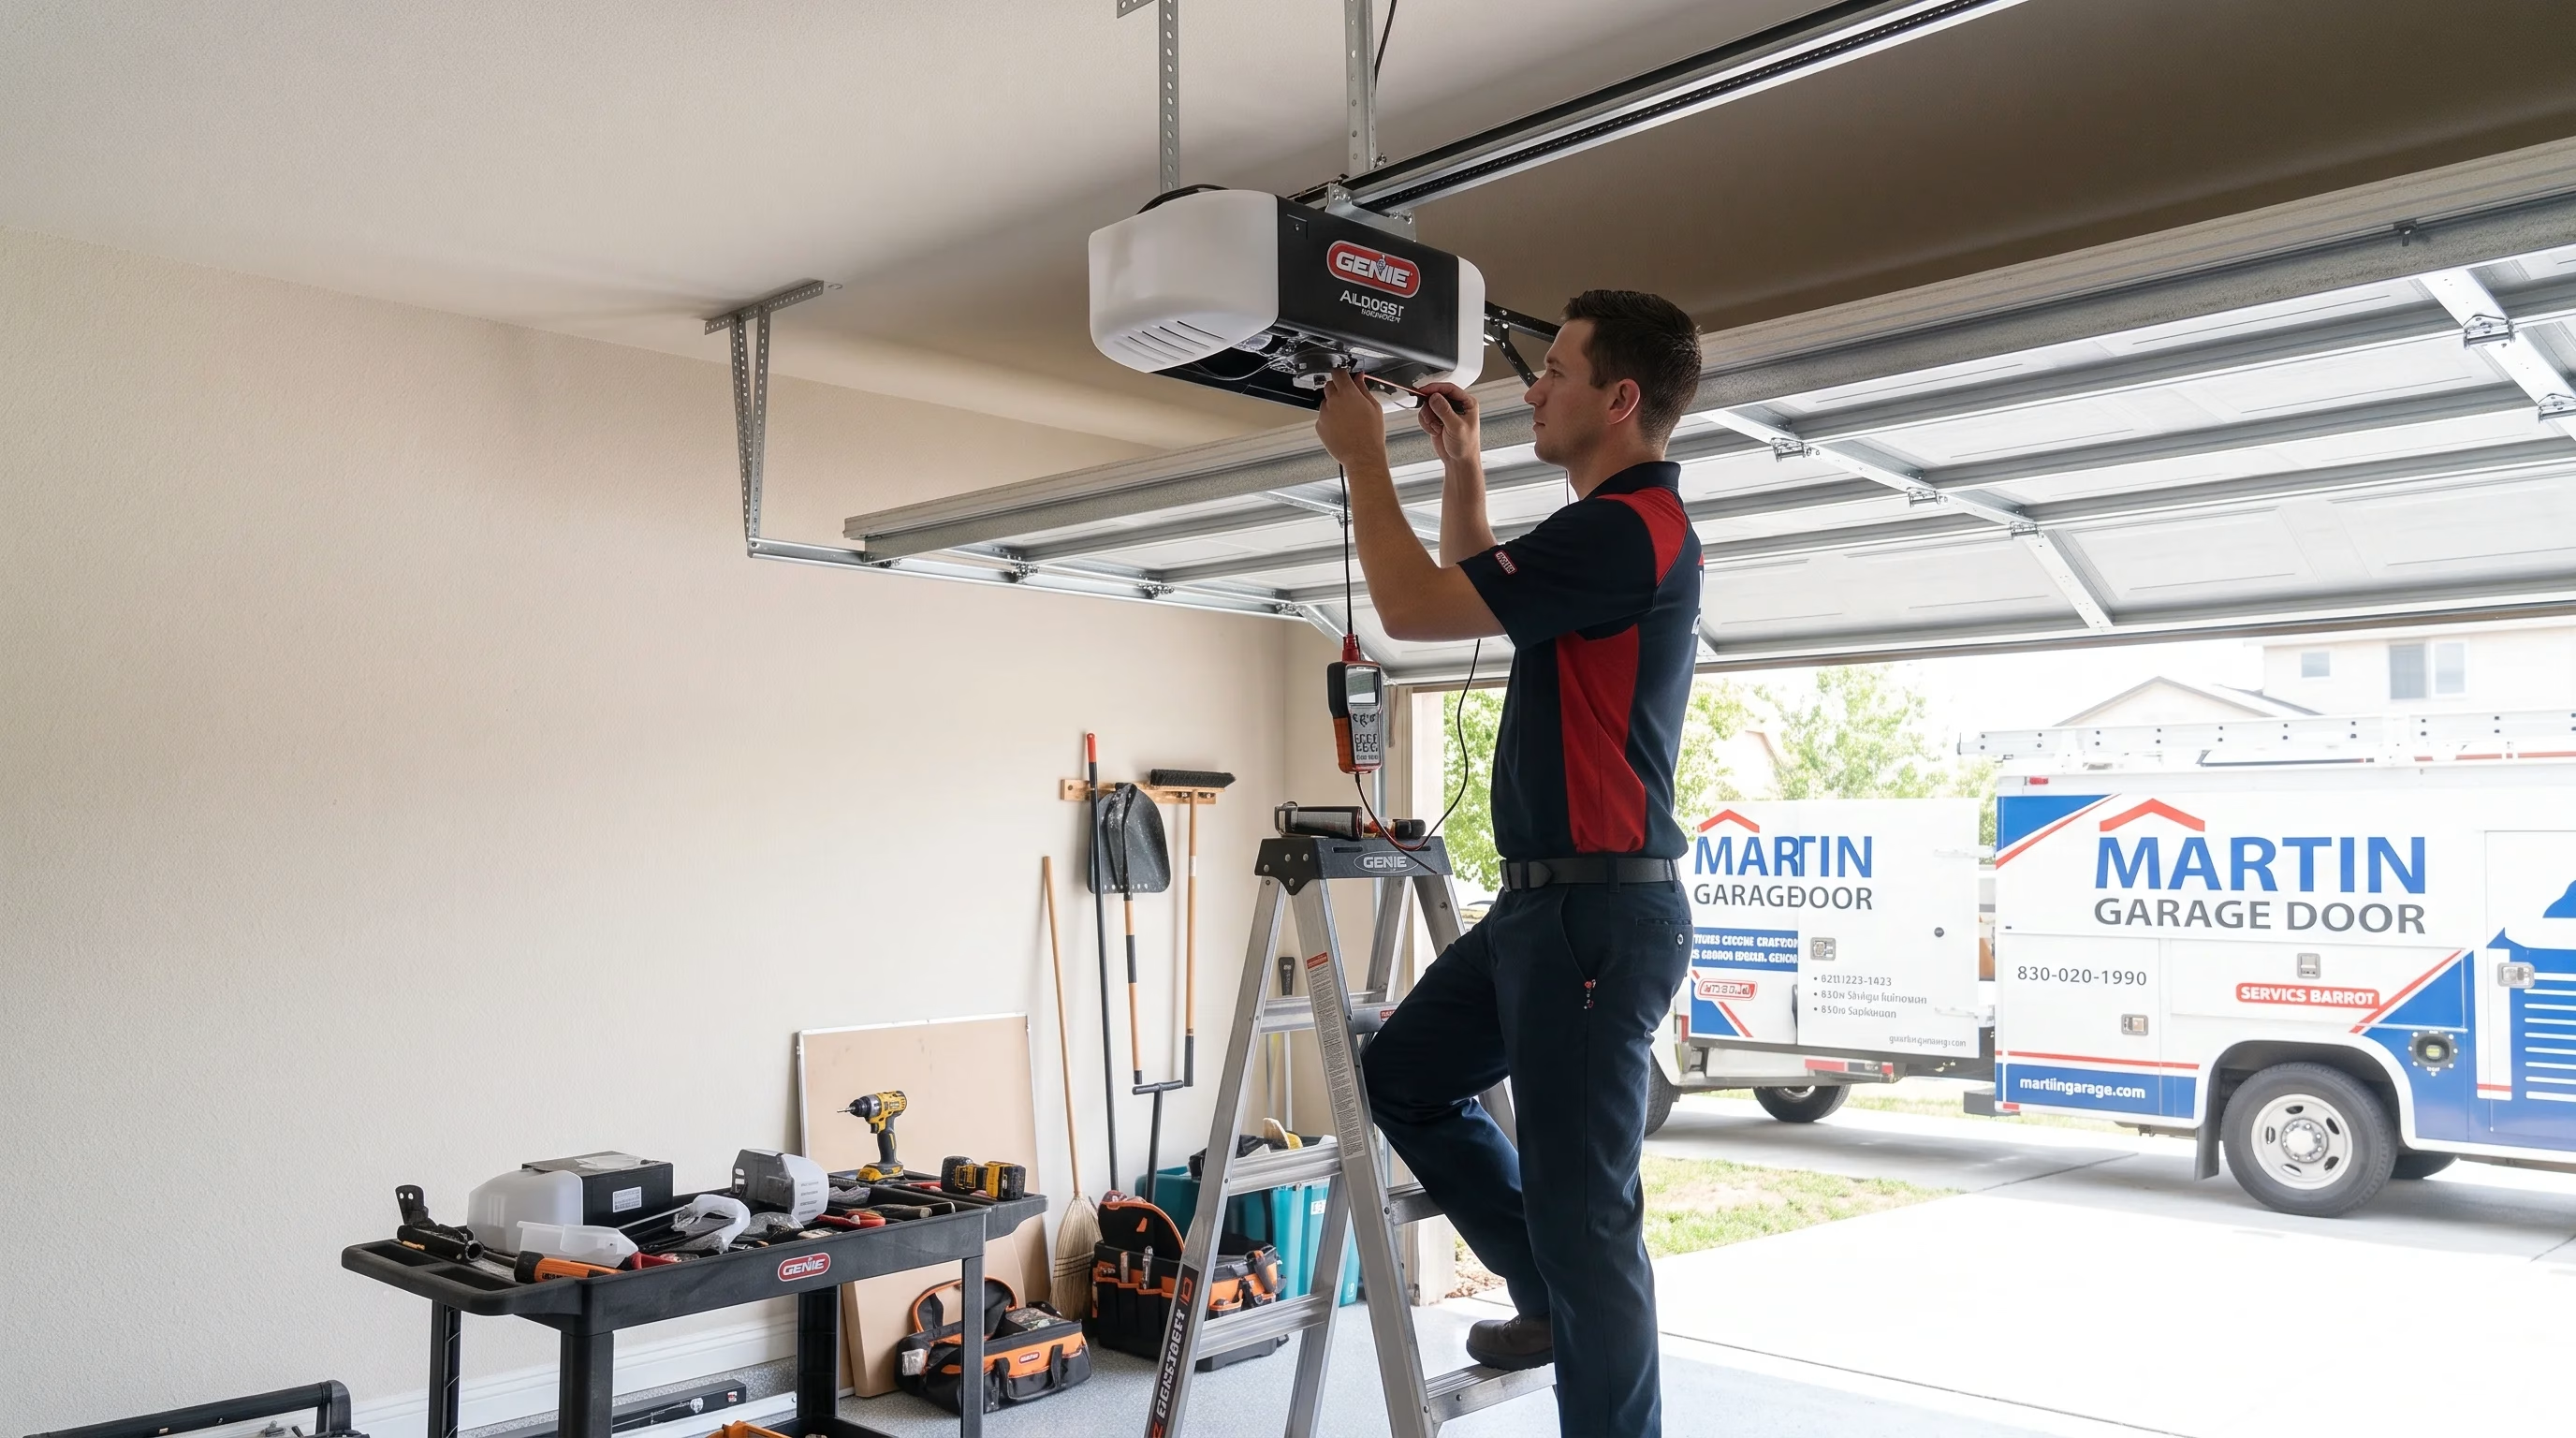
Not every garage door repair requires a service call. Some garage door opener parts are enough that a capable homeowner can handle the replacement safely and confidently. Others involve high-tension components or electrical systems where the risks of a DIY approach outweigh the savings.
Knowing the difference is the most important thing you can take away from this guide. For homeowners in Denver, CO, where systems take on extra stress from temperature swings and heavy seasonal use, staying on top of part replacements is a smart investment in both safety and convenience.
Step 1: Identify the Failing Part Before You Buy Anything
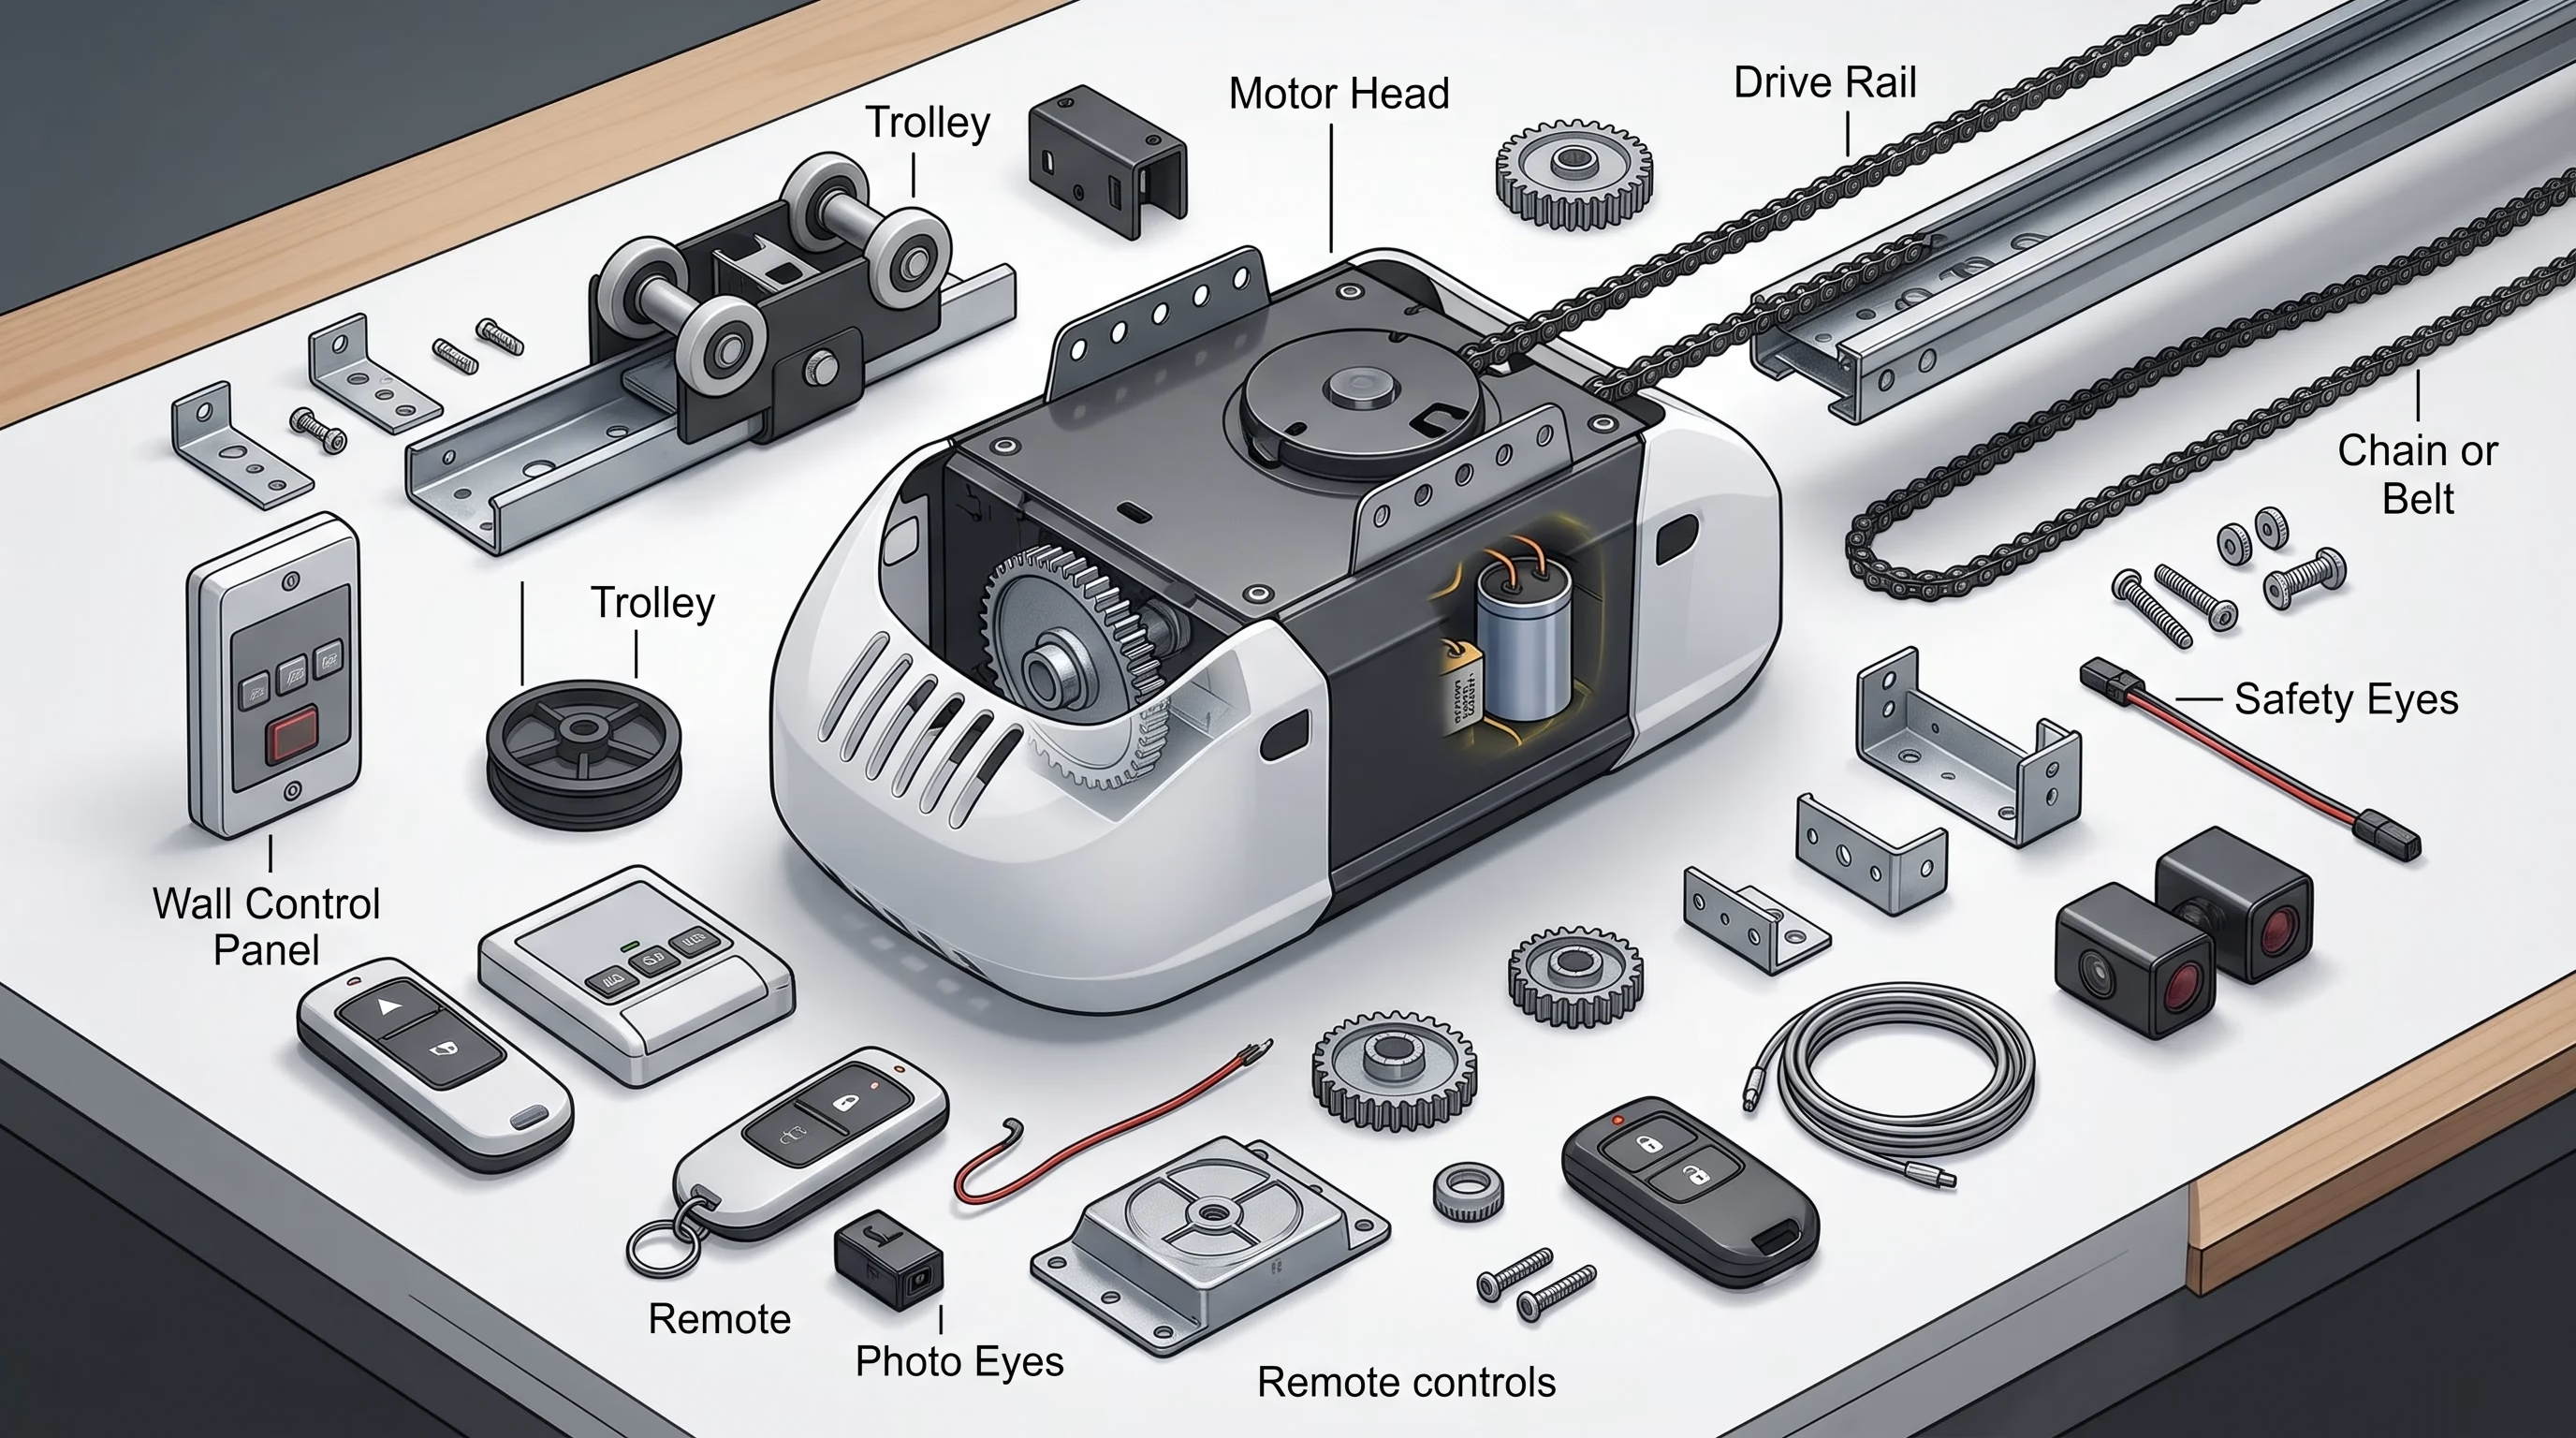
Replacing the wrong part wastes time and money. The first step in any garage door repair is a proper diagnosis. A thorough visual and operational check will almost always point you toward the component that needs attention.
How to diagnose the problem:
- Disconnect the opener by pulling the emergency release cord and operate the door manually to determine whether the issue is mechanical or electrical
- Listen carefully during a full open and close cycle for grinding, popping, scraping, or clicking sounds
- Look along the full length of the tracks, cables, springs, and rollers for visible damage, rust, or misalignment
- Check the sensor lights at the base of the tracks. A blinking or unlit indicator on one side signals a sensor issue
What to note before purchasing parts:
- Write down your opener’s brand, model number, and manufacturing year from the label on the motor unit
- Take photos of the part you are replacing before removing it so you can match the size, shape, and mounting style
- Confirm whether the replacement part needs to be brand-specific or whether a universal component will work for your application
Before jumping into replacements, it helps to know which parts are most likely to need attention. What Are the Most Common Garage Door Opener Parts to Replace? gives you a clear picture of what wears out most often and why.
Step 2: Gather Your Tools and Safety Equipment
Having the right tools ready before you start makes the job cleaner and safer. Attempting a repair without proper equipment often leads to improvised shortcuts that create new problems.
Basic tools needed for most replacements:
- Flathead and Phillips screwdrivers
- Adjustable wrench and a set of socket wrenches
- Locking pliers or C-clamps to secure the door in place during work
- A sturdy ladder tall enough to reach the motor unit comfortably
- Work gloves and safety glasses
Safety steps before starting any repair:
- Disconnect the opener from power by unplugging it from the outlet before touching any electrical components
- Use C-clamps or locking pliers on the track just above a roller to prevent the door from moving while you work
- Never work on springs or cables without proper training and tools. These components store significant mechanical energy and can cause serious injury if released suddenly
- Keep children and pets out of the garage while any repair work is in progress
Step 3: How to Replace Garage Door Rollers
Rollers are one of the most common DIY-friendly replacements. They are accessible, inexpensive, and straightforward to swap out without special tools in most cases.
How to replace rollers step by step:
- Secure the door in the open position using C-clamps on the track above the bottom roller bracket
- Use a flathead screwdriver or wrench to loosen the bolts on the roller bracket you are replacing
- Tilt the bracket slightly to slide the old roller out of the track
- Insert the new roller into the track and reseat the bracket in its original position
- Tighten the bracket bolts securely and apply a light coat of silicone-based lubricant to the new roller before testing
Important notes:
- Replace rollers one at a time rather than removing multiple brackets at once to avoid destabilizing the door
- Bottom-bracket rollers are under cable tension and should be handled by a professional
- Nylon rollers are quieter and a worthwhile upgrade over steel if you are replacing a full set
Step 4: How to Replace Safety Sensors
Safety sensors are another repair that most homeowners can handle themselves. The process mainly involves careful alignment rather than complex mechanical work.
How to replace or realign safety sensors:
- Unplug the opener before touching any sensor wiring
- Loosen the wing nut or bracket screw holding the sensor unit in place on the track
- Slide the old sensor off and connect the wiring to the new unit, matching wire colors carefully
- Mount the new sensor on the bracket at the same height as the opposite sensor, roughly four to six inches from the floor
- Adjust the angle until the indicator light on both units shows a solid color, confirming alignment
- Plug the opener back in and test with a cardboard box in the door’s path to verify the reversal feature is working
Important notes:
- Both sensors must be at the same height and pointed directly at each other for the system to work correctly
- If the light will not go solid despite careful alignment, check for direct sunlight hitting the sensor lens, which can interfere with the beam
- Sensor wiring that shows damage or corrosion should be replaced along with the sensor unit
Step 5: How to Replace a Garage Door Opener Remote or Keypad
Remote controls and keypads are the simplest replacements in the entire system. Most homeowners can complete this without any tools at all.
How to replace a remote:
- Purchase a replacement remote that is compatible with your opener’s brand and frequency. Universal remotes work with most modern systems
- Follow the programming instructions included with the remote, which typically involve pressing a Learn button on the motor unit and then pressing the new remote button within 30 seconds
- Test the remote from the maximum distance you typically use it to confirm the signal is strong
How to replace a keypad:
- Mount the new keypad on the exterior wall or door frame using the included hardware
- Program your access code following the manufacturer’s instructions, which usually involve the same Learn button process as a remote
- Test the keypad multiple times and confirm the door responds on the first press
Important notes:
- If your opener is more than 15 years old, check whether it uses a rolling code or fixed-code system before purchasing a replacement remote
- Consult the MyQ support and compatibility guide if you are adding a smart remote or app-based access to an existing opener
Step 6: How to Replace Weather Stripping
Weather stripping along the bottom of the door is one of the most affordable and easiest replacements a homeowner can make. It requires no special tools and can be completed in under an hour for most doors.
How to replace the bottom weather stripping:
- Open the door to a comfortable working height and secure it in place
- Pull the old weather stripping out of the retainer channel along the bottom edge of the door. It usually slides out from one end
- Clean the retainer channel with a damp cloth and let it dry completely
- Slide the new weather stripping into the channel from one end, working your way across until it is fully seated
- Close the door and check for even contact with the floor across the full width. Trim any excess length with a utility knife
Important notes:
- Choose a replacement that matches the profile of your existing retainer channel, or purchase a complete retainer and seal kit if the channel itself is damaged
- In Denver, a rubber or vinyl seal rated for temperature extremes will outlast standard options through the heating and cooling cycles of local winters and summers
- Check the door stops and side seals at the same time and replace them if they show similar wear
The U.S. Department of Energy’s guidance on air sealing explains how gaps at the garage door threshold contribute to energy loss, reinforcing why quality weather stripping is worth the investment in climate-extreme regions like Denver.
If your door has been showing symptoms and you are not sure what is causing them, reviewing Warning Signs Your Garage Door Opener Parts Need Replacing will help you narrow down the issue before you start any work.
Step 7: Know When to Stop and Call a Professional
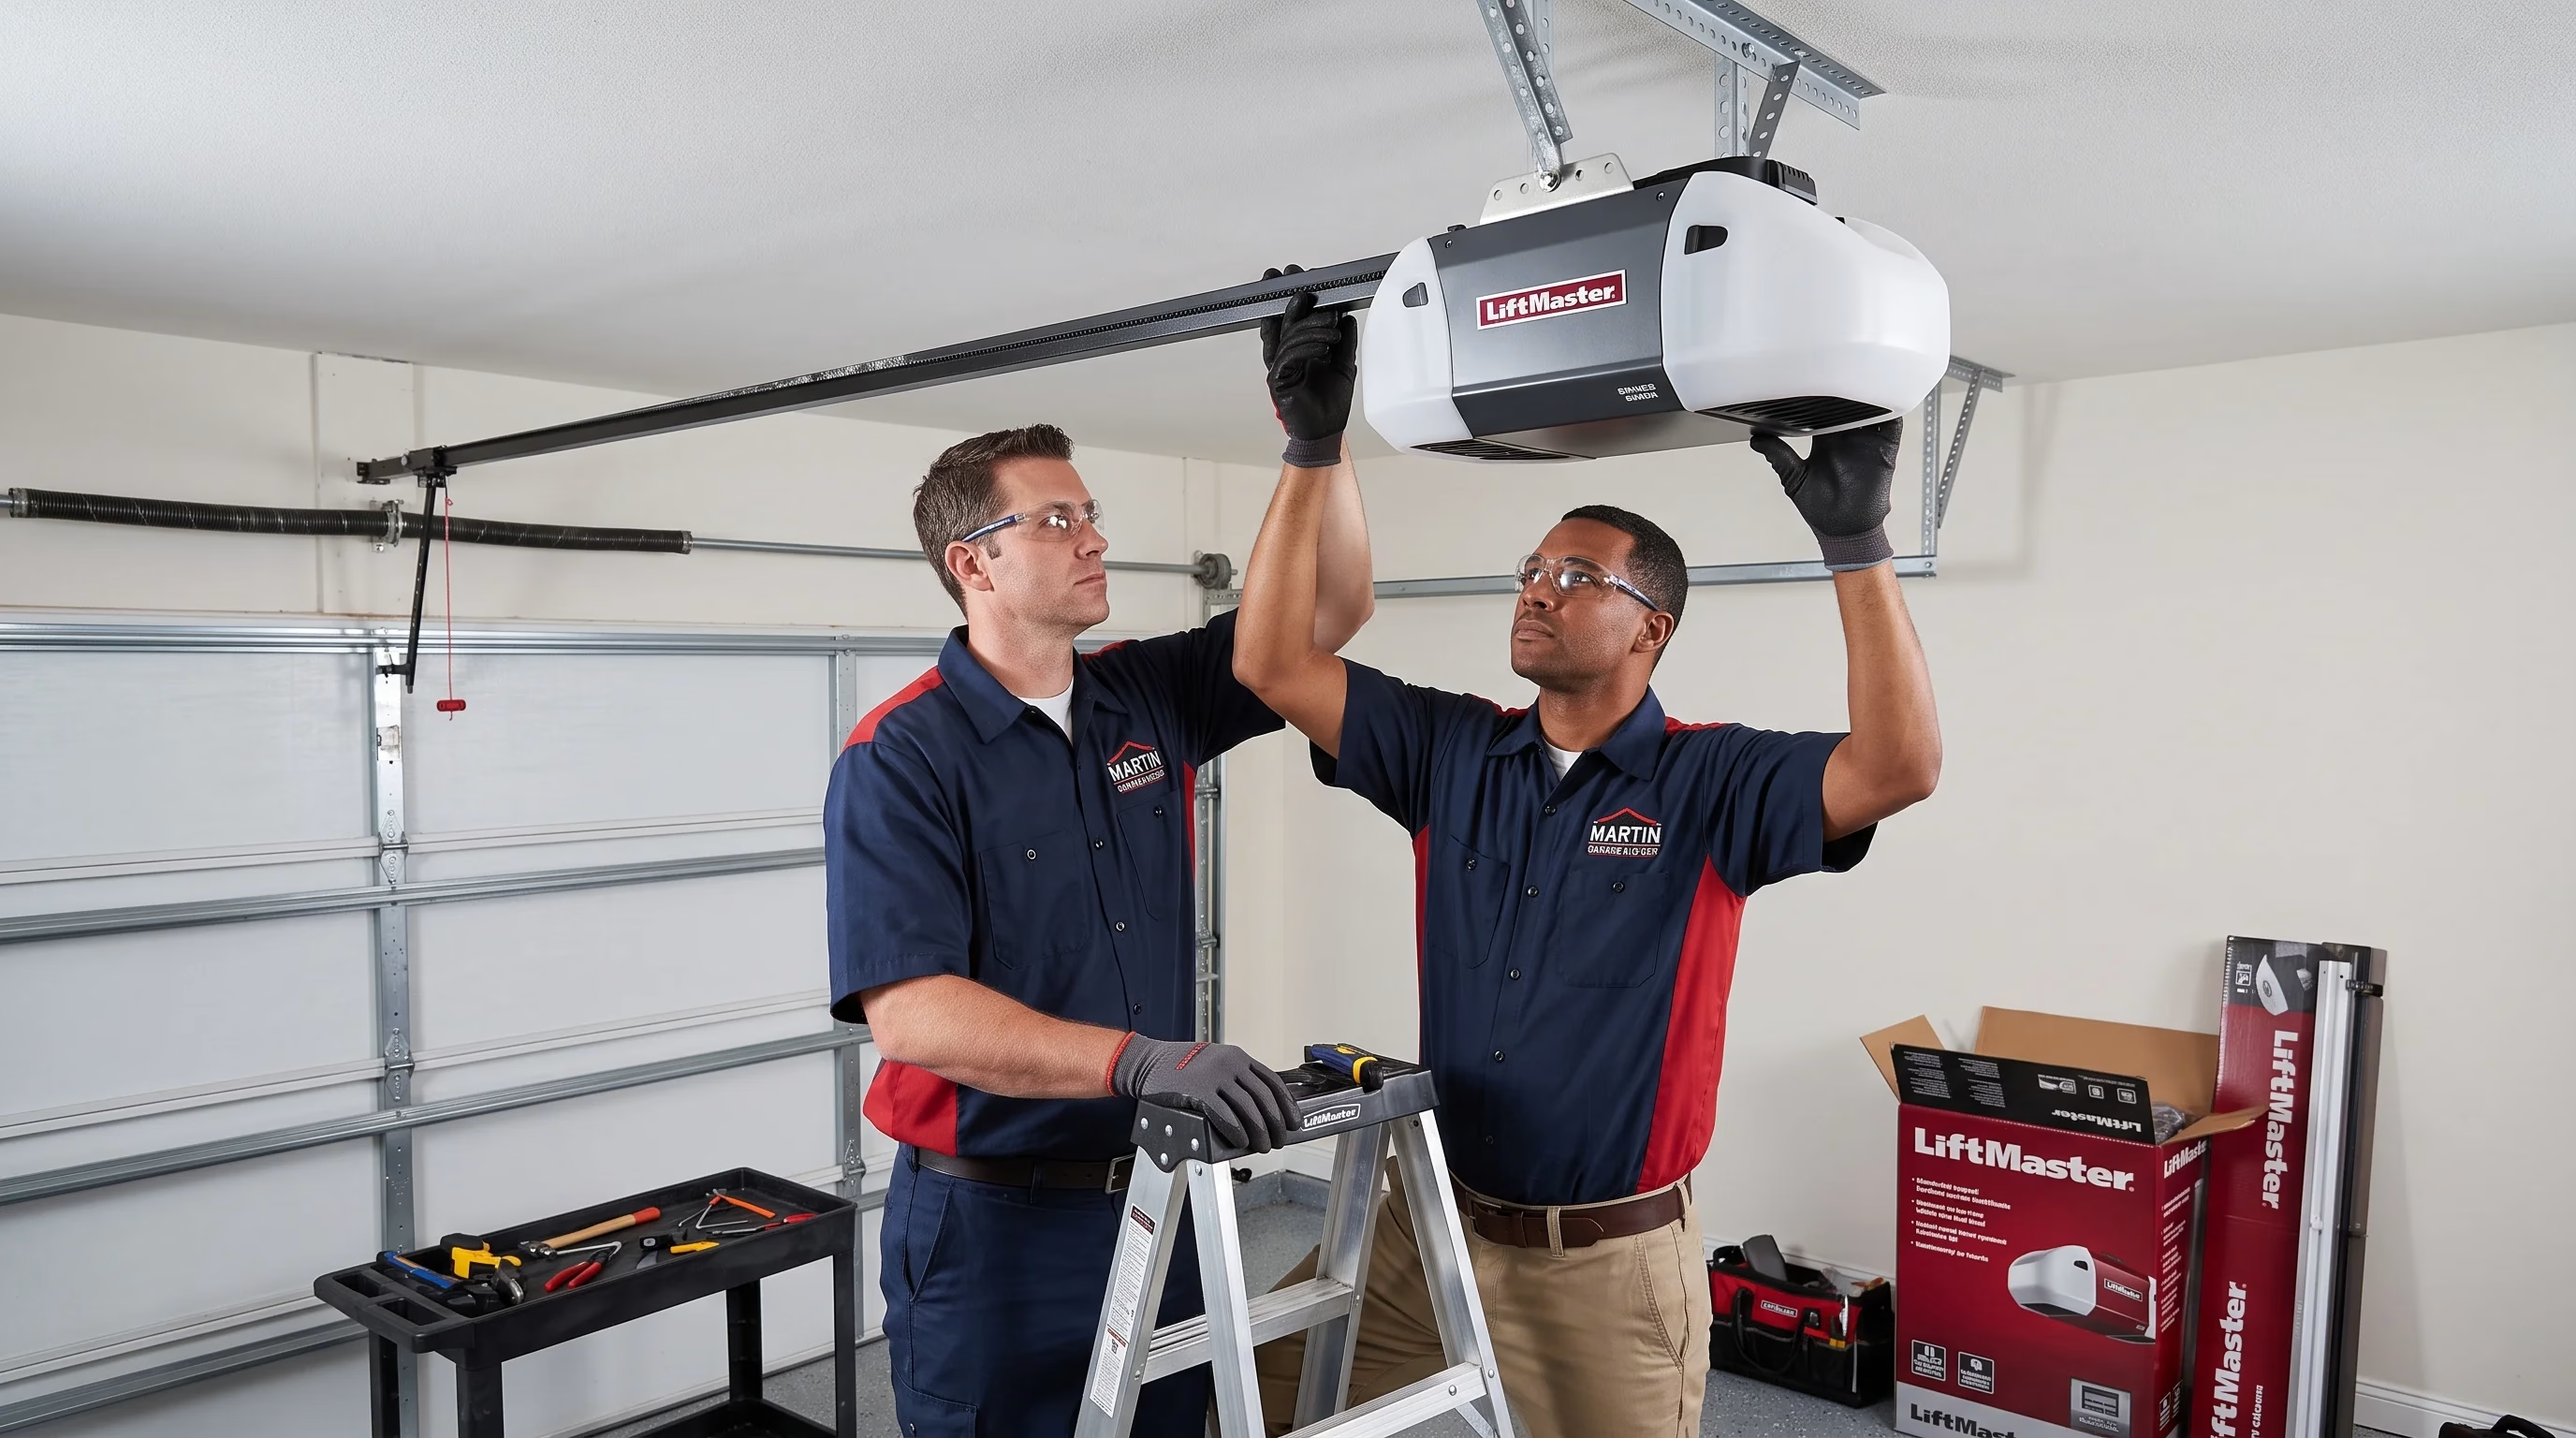
There is a clear line between the repairs described above and the work that should always be handled by a trained technician. Crossing that line is not worth the risk.
Repairs that always require a professional:
- Torsion spring replacement or adjustment. Springs store enormous mechanical energy, and a sudden release can cause severe injury
- Lift cable replacement or reattachment. Cables work in combination with spring tension and are dangerous to handle without proper tools and training
- Track replacement or major realignment involving the full door system
- Motor unit replacement or control board repair involving internal wiring
- Any repair where the door has become completely non-functional, and the cause is not immediately clear
How to choose the right technician:
- Look for a licensed and insured garage door technician with verifiable local experience in garage door maintenance
- Ask whether they carry replacement parts for your specific opener brand
- Request a written estimate before any work begins, so there are no surprises on the final bill
- Check reviews and references, particularly from other homeowners in the Denver area who can speak to the technician’s local knowledge and reliability
The International Door Association maintains a directory of qualified garage door professionals and provides industry-backed maintenance standards that help homeowners verify they are hiring a technician with the training and credentials the job actually requires.
If you want to understand what drives these failures in the first place, Why Garage Door Opener Parts Fail and How to Prevent It explains the root causes and how to address them long-term.
Get the Right Help When the Job Calls for It
Knowing your limits is not a weakness. It is smart homeownership. DIY repairs done well save money and keep your system running. DIY repairs done wrong can turn a minor issue into a safety hazard or a much larger expense.
If you are in the Denver, CO area and the repair is beyond what you want to tackle on your own, Martin Garage Door has the experience to get it done right. Contact us or give us a call and we will take care of it so you do not have to.