Learn the simple steps to replace your garage door opener remote battery and ensure seamless operation.
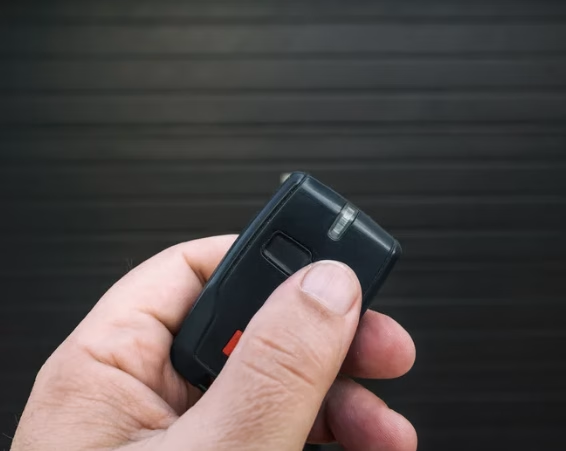
A malfunctioning garage door remote can be a real inconvenience, especially when you’re in a rush. The most common culprit behind this issue is a dead battery, which can easily be replaced. Learning how to replace garage door opener batteries can save you time and eliminate unnecessary stress, ensuring your garage door operates smoothly year-round. When you stay on top of regular maintenance, you can avoid the frustration of dealing with an unreliable remote, making your daily routine much easier.
Regardless of whether your garage door opener is a LiftMaster, Chamberlain, Genie, or another brand, replacing the remote’s battery is a simple and straightforward process. This guide, presented by Martin Garage Door, will walk you through the necessary steps for replacing the battery. We’ll also provide troubleshooting tips and answers to frequently asked questions so you can confidently fix the issue and enjoy seamless garage door operation again.
Signs You Need to Replace Your Garage Door Opener Battery
Before you replace the battery in your garage door opener, it’s helpful to check for the following signs to confirm that the battery is the issue:
- Sluggish or inconsistent response: The garage door moves slowly or responds intermittently when you press the remote.
- Need to stand closer than usual: You have to be much closer to the door for the remote to work, indicating a weak signal.
- Remote LED light is dim or nonfunctional: If the LED light on your remote is weak or doesn’t light up at all, it’s a clear sign that the battery is low.
- Total failure to open or close the garage door: The remote doesn’t activate the door at all, which typically happens when the battery is completely drained.
Recognizing these signs early on can save you time and prevent unnecessary frustration, ensuring your garage door opener stays in good working condition.
What You’ll Need
To replace the battery in your garage door opener remote, gather the following tools and items:
- Flathead or Phillips screwdriver: Depending on the model of your remote, use the appropriate screwdriver to remove the screws securing the remote.
- New battery: Typically a CR2032 or CR2025 coin cell battery. Check the existing battery size before purchasing a replacement.
- Small tray to hold screws: This is optional but helps keep screws organized and prevents them from getting lost.
- Clean cloth: Use this to wipe any dust or debris from the battery contacts, ensuring optimal performance of your remote after the battery is replaced.
Having these items on hand will make the battery replacement process quick and smooth, ensuring your garage door remote is back to working properly.
How to Replace a Garage Door Remote Battery: Step-by-Step
Step 1: Identify Your Remote Type
Examine your garage door remote to identify its model and brand. Check inside the battery compartment or on the back of the remote for a model number. Knowing the specific remote type helps ensure you purchase the correct replacement battery, ensuring compatibility with your device.
Step 2: Open the Battery Compartment
Depending on the remote model, opening the battery compartment may differ. For sliding panel remotes, simply slide the panel open. If screws secure the casing, use a small screwdriver to remove them. For snap-fit remotes, carefully pry open the seam using a flathead screwdriver to access the battery.
Step 3: Remove the Old Battery
Gently remove the old battery from its compartment using your finger or a non-metallic tool. Be sure to note the battery’s orientation, paying attention to the polarity symbols (+/-). This step ensures you install the new battery correctly and avoids potential damage to the remote or malfunctioning.
Step 4: Insert the New Battery
Place the new battery in the compartment, making sure it matches the orientation of the previous battery. Ensure it sits snugly in its compartment. Check for any slight movement of the battery after insertion to verify it’s securely in place. This step guarantees your remote works properly after assembly.
Step 5: Close the Remote
Carefully snap or screw the casing back together after inserting the new battery. Avoid pressing too hard to prevent damaging any internal circuitry. If your remote uses screws, tighten them gently to prevent over-tightening, which could lead to cracks or strain on the casing.
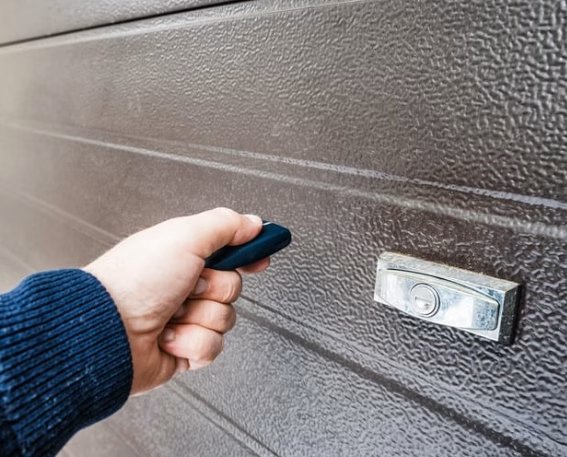
Step 6: Test the Remote

After reassembling your remote, test it by pressing the button a few feet away from the garage door. If the door opens or closes smoothly, your battery replacement was successful. If it doesn’t work, double-check the battery’s orientation or consider troubleshooting other potential issues.
Troubleshooting Tips
If replacing the battery doesn’t immediately resolve your remote issues, here are some troubleshooting steps to help get things back on track:
Remote Still Not Working?
- Check Battery Orientation: Ensure the battery is correctly inserted with the right polarity. Sometimes, a simple mistake like this can prevent the remote from working.
- Verify Battery Freshness: Double-check that the battery is not expired or low on charge. If it’s been sitting unused for a while, the expiration date may affect its performance.
- Clean the Contact Points: Dirt or grime on the battery or the contacts inside the remote can hinder the connection. Gently clean these points with a dry cloth to ensure a clear connection.
- Reprogram the Remote: If the remote still isn’t working, reprogram it. Refer to your garage door opener’s manual for specific instructions on how to sync the remote.
Remote Works Sporadically?
- Secure Battery Placement: A loosely placed battery can cause intermittent functioning. Ensure the battery is seated properly and securely.
- Check for Wireless Interference: Other wireless devices in the area might be causing interference. Move or turn off nearby devices that could disrupt the signal.
- Reset the Opener System: If your remote works sporadically, try resetting your garage door opener. This can often solve system-related issues.
Maintenance Tips to Extend Battery Life
To avoid future battery issues and keep your garage door remote functioning smoothly, consider adopting these simple maintenance habits:
- Replace Batteries Annually: Even if your remote is still working, it’s a good idea to replace the batteries every year. This proactive approach ensures you won’t be caught off guard by a dead battery when you need it most.
- Store Remotes Properly: Keep your remotes in dry, moderate-temperature environments. Extreme heat or cold can affect battery performance, so avoid storing them in direct sunlight, near heat sources, or in damp areas like garages or basements.
- Clean the Remote Regularly: Dust and dirt can accumulate inside the remote and interfere with its contacts. Clean your remote regularly with a dry cloth to prevent dust buildup and ensure the connections remain clear for optimal performance.
By following these tips, you can help extend the lifespan of your remote’s battery and avoid frequent replacements.
Frequently Asked Questions (FAQs)
How Often Should I Change My Garage Door Remote Battery?
You should change your garage door remote battery every 12–18 months, depending on how often the remote is used. Frequent usage may require more frequent battery changes, while occasional use might extend battery life. Regularly changing the battery ensures reliable performance and avoids remote failure when you need it most.
What Type of Battery Does My Garage Remote Use?
Most garage door remotes use coin-style lithium batteries like CR2032 or CR2025. However, it’s important to check your remote’s specifications to ensure you use the correct battery. Using the wrong battery may cause malfunction or damage to the remote, affecting its overall performance and longevity.
Do I Need to Reprogram My Remote After Changing the Battery?
In most cases, you do not need to reprogram your garage door remote after changing the battery. However, some older models may require reprogramming. If your remote stops working after battery replacement, consult the user manual to see if reprogramming is necessary to restore functionality and communication with the opener.
What If the Remote Still Doesn’t Work After a New Battery?
If your garage door remote still doesn’t work after replacing the battery, first check the polarity and ensure the battery is inserted correctly. Clean the battery contacts to remove any dirt or corrosion. If it still doesn’t work, try reprogramming or consult a garage door expert for further troubleshooting.
Where Should I Dispose of Old Batteries?
Old batteries, especially lithium ones, should never be thrown in the trash due to environmental concerns. Take them to a local electronics or battery recycling center to dispose of them safely. Many stores or recycling programs accept used batteries to prevent pollution and promote responsible recycling practices.
Conclusion
Replacing your garage door opener battery is a quick and simple task that can save you from unnecessary frustration. In just a few minutes, you can restore full functionality and enjoy smooth, effortless access to your garage. Regularly maintaining your remote and its battery can help prevent future issues, ensuring reliability and convenience for years to come.
However, if you’ve replaced the battery and your remote still doesn’t respond, it may be time to consider a replacement or seek professional help. A full inspection by a qualified technician can identify any underlying issues, giving you peace of mind knowing your garage door system is functioning properly. Don’t hesitate to call an expert when needed.
End Note
Martin Garage Door is here to ensure your garage door needs are met with professionalism and quality. Discover a wide selection of doors on their Martin Garage Doors page or dive into their Services to learn more about what they offer. For more details about their business, head over to their About Us page.
For inspiration and real-life examples, explore their Photo Gallery to see the exceptional work they’ve done. If you have questions or need assistance, don’t hesitate to reach out via their Contact Us page. You can also stay connected through their Facebook page for the latest updates, or read helpful tips on the Martin Garage Door Blog.