
Garage door springs play a crucial role in the smooth operation of your garage door. These springs are responsible for counterbalancing the weight of the door, making it easy to open and close. However, these springs may wear out or break over time, causing inconvenience and potential safety hazards.
In this comprehensive guide, we will take you through the process of repairing a garage door spring step by step.
Signs of a broken garage door spring
Before diving into the repair process, it is essential to identify whether your garage door spring is broken. There are a few telltale signs that indicate a broken spring. The first and most obvious sign is a garage door that won’t open or close smoothly. If you notice jerking or hear unusual noises when operating the door, it may be due to a broken spring. Additionally, if you see a visible gap in the spring or notice a lack of tension when manually lifting the door, it indicates that the spring needs repair.
Understanding the different types of garage door springs
Garage door springs come in two main types: torsion springs and extension springs. Torsion springs are typically located above the garage door, while extension springs are mounted on either side of the door. It is essential to understand the type of spring your garage door has before attempting any repairs, as the repair process can vary accordingly. Torsion springs use torque to counterbalance the door’s weight, while extension springs extend and contract to provide the necessary tension. Each type requires a different approach to repair, so make sure you identify which type you have before proceeding.
Safety precautions before starting the repair
Repairing a garage door spring can be dangerous if proper safety precautions are not followed. Before starting the repair process, it is crucial to take the necessary steps to ensure your safety. First and foremost, disconnect the power to the garage door opener to prevent accidental activation while working on the spring. It is also essential to wear protective gear, including safety glasses and gloves, to protect yourself from any potential injuries. Lastly, make sure to secure the garage door in the open position using clamps or locking pliers to prevent it from unexpectedly closing during the repair.
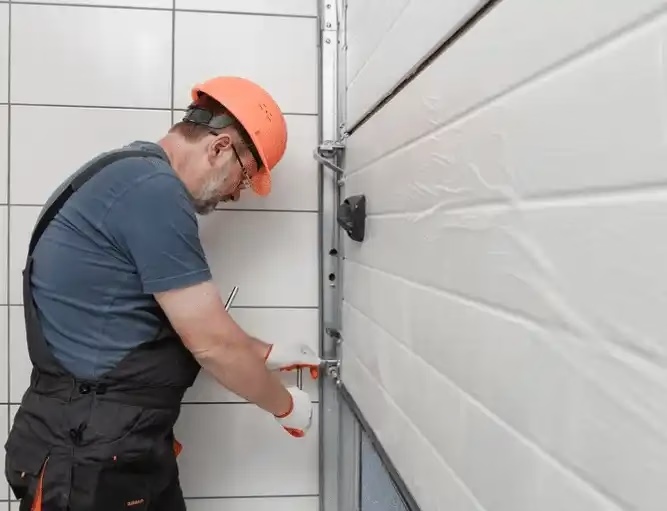
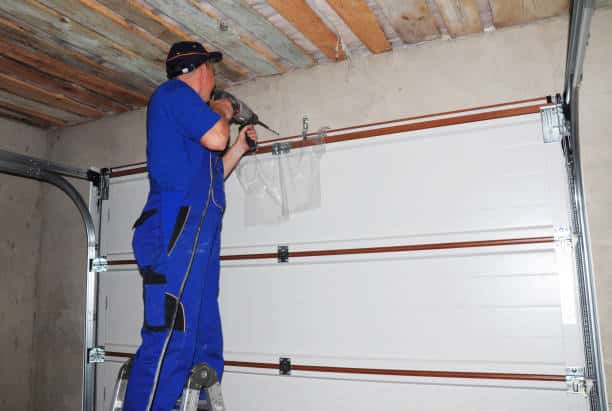
Step-by-step guide to repairing a garage door spring

Now that you have taken the necessary safety precautions, let’s walk through the step-by-step process of repairing a garage door spring. Please note that this guide is specific to torsion springs. If you have extension springs, the process may differ.
- Gather the necessary tools and equipment: Before starting the repair, make sure you have all the required tools and equipment, including winding bars, a socket wrench, and a ladder.
- Release the tension in the springs: Use winding bars to unwind the tension from the springs. Start by inserting one winding bar into the winding cone and slowly rotating it to release the tension. Repeat this process for both springs.
- Remove the broken spring: Once the tension is released, use a socket wrench to remove the bolts securing the broken spring to the torsion tube. Carefully slide off the broken spring and set it aside.
- Install the new spring: Place the new spring onto the torsion tube and secure it with the bolts using a socket wrench. Make sure the spring is properly aligned and centred on the tube.
- Wind the new spring: Use winding bars to wind the new spring, applying the necessary tension. Start by inserting one winding bar into the winding cone and slowly rotate it to wind the spring. Repeat this process for both springs.
- Test the door: Once the new spring is properly wound, remove the clamps securing the garage door and test its operation. Open and close the door multiple times to ensure it moves smoothly and without any issues.
Common mistakes to avoid during the repair process
While repairing a garage door spring, there are a few common mistakes that you should avoid to ensure a successful repair. One of the most significant mistakes is attempting to repair the spring without proper knowledge or experience. Garage door springs are under high tension and can cause severe injuries if mishandled. It is crucial to follow the step-by-step guide and take all necessary safety precautions. Another common mistake is using incorrect tools or equipment for the repair. Make sure to use the recommended tools and follow the instructions carefully to avoid damaging the springs or other components of the garage door.
Tips for maintaining your garage door spring
Regular maintenance can significantly extend the lifespan of your garage door springs and prevent unexpected breakdowns. Here are a few tips to keep your springs in good condition:
- Lubricate the springs: Apply a silicone-based lubricant to the springs regularly to reduce friction and prevent rusting.
- Inspect for wear and tear: Regularly inspect the springs for any signs of wear, such as fraying or visible damage. If you notice any issues, it is best to address them promptly before they worsen.
- Test the balance: Perform a balance test on your garage door by disconnecting the opener and manually lifting the door halfway. If the door stays in place, it is properly balanced. If it falls or rises, it may indicate a problem with the springs.
When to call a professional for help
While repairing a garage door spring can be a DIY project, there are instances when it is best to call a professional for help. If you need more clarification about the repair process or need more tools and experience, it is safer to seek assistance from a professional garage door technician. Additionally, if you encounter any complications during the repair or notice other issues with your garage door, a professional can provide expert guidance and ensure a thorough repair.
Recommended tools and equipment for the repair
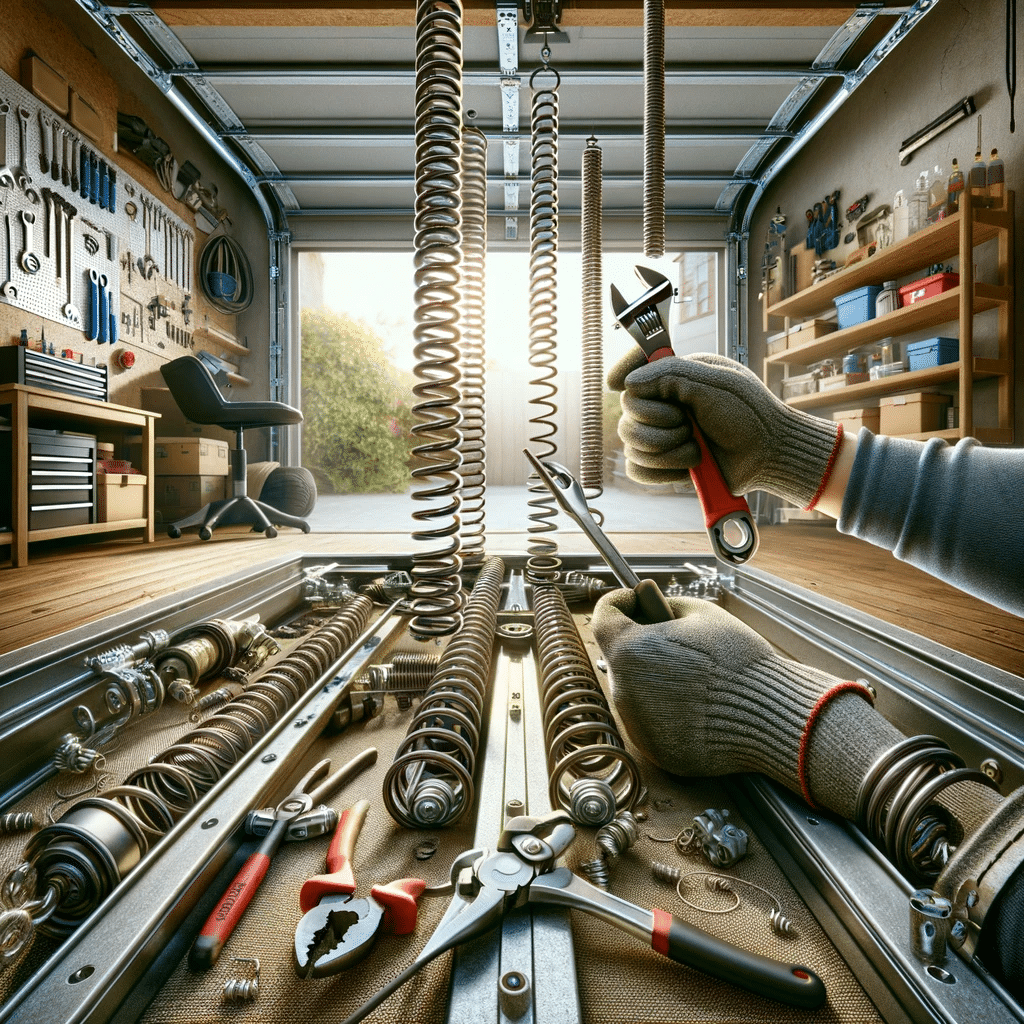
To successfully repair a garage door spring, you will need the following tools and equipment:
- Winding bars: These are essential for releasing and winding the tension in the springs.
- Socket wrench: A socket wrench is required to remove and secure the bolts holding the springs in place.
- Ladder: A ladder is necessary to access the springs, especially if they are located above the garage door.
- Safety glasses and gloves: Protective gear is crucial to prevent injuries while working on the springs.
Conclusion: Keeping your garage door springs in good condition
Repairing a garage door spring may seem daunting, but it can be done safely and effectively with the proper knowledge and precautions. By following the step-by-step guide outlined in this article and taking regular maintenance measures, you can keep your garage door springs in good condition and ensure the smooth operation of your garage door for years to come. However, if you are still determining the repair process or encounter any difficulties, it is always best to seek professional help to avoid accidents or further damage.
For any garage door repair or maintenance needs, Martin Garage Door is here to help. With our team of experienced technicians, we provide reliable and efficient garage door services to ensure the optimal performance of your garage door. Contact us today for all your garage door needs.